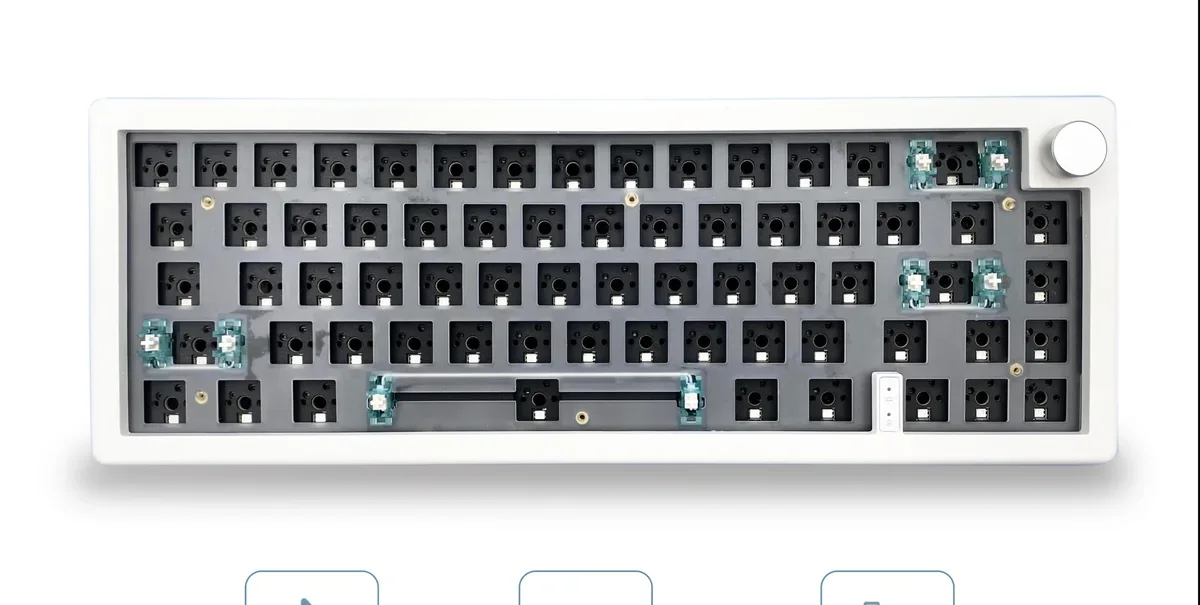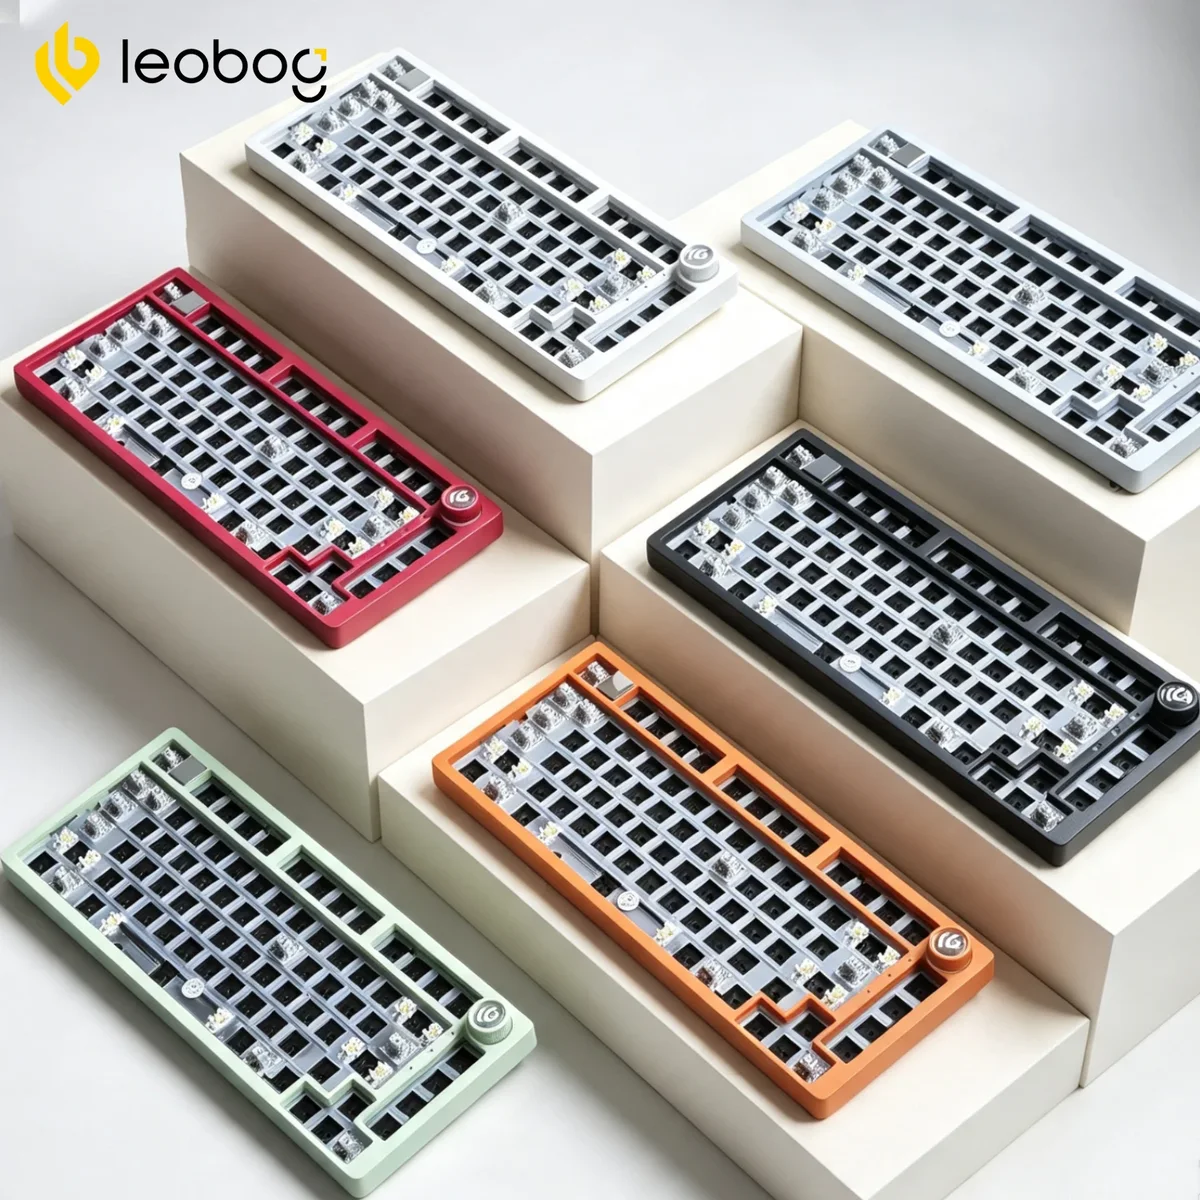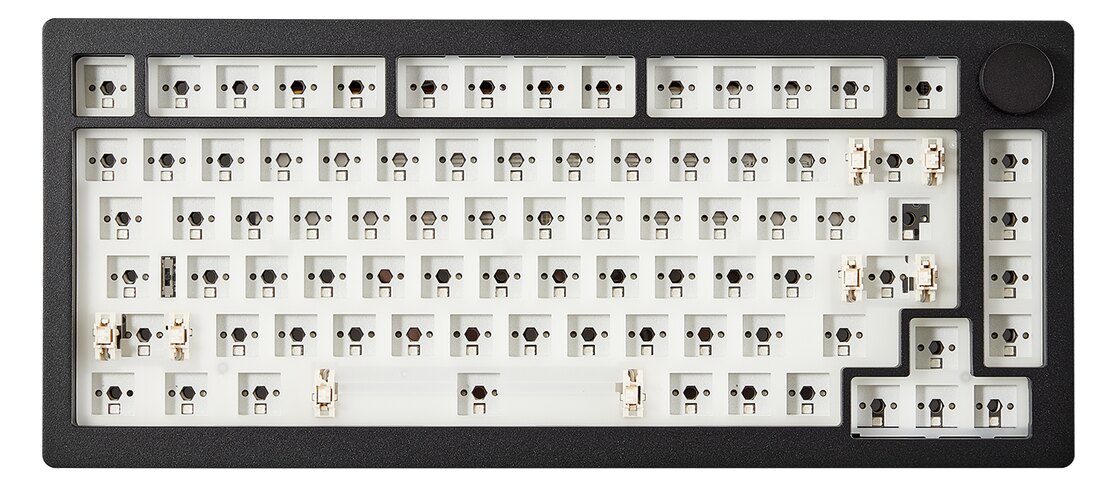
A barebone kit is a keyboard with the two most personal parts left out. You choose the switches and the keycaps, press them in, and you have a board nobody else has. On a hot-swap kit there is no soldering, and a first build takes about an hour.
What is in the box
- Case: The shell, in plastic or aluminium. It sets the weight and a lot of the sound.
- PCB: The circuit board. On a hot-swap kit it has a socket for every switch.
- Plate: Holds the switches in line above the PCB.
- Stabilisers: The wire mechanisms under the long keys, such as the spacebar. Usually fitted already.
- Foam: Layers inside the case that take out hollow sounds. Usually fitted already.
What you add
- Switches: One per key, plus a few spares. A 65% needs about 68, a 75% between 81 and 84, and a TKL 87. Packs come in sizes such as 35, 45 and 100, so count before you order.
- Keycaps: A set that covers your layout. Small boards use a short right Shift and other odd sizes, so check that the set includes them.
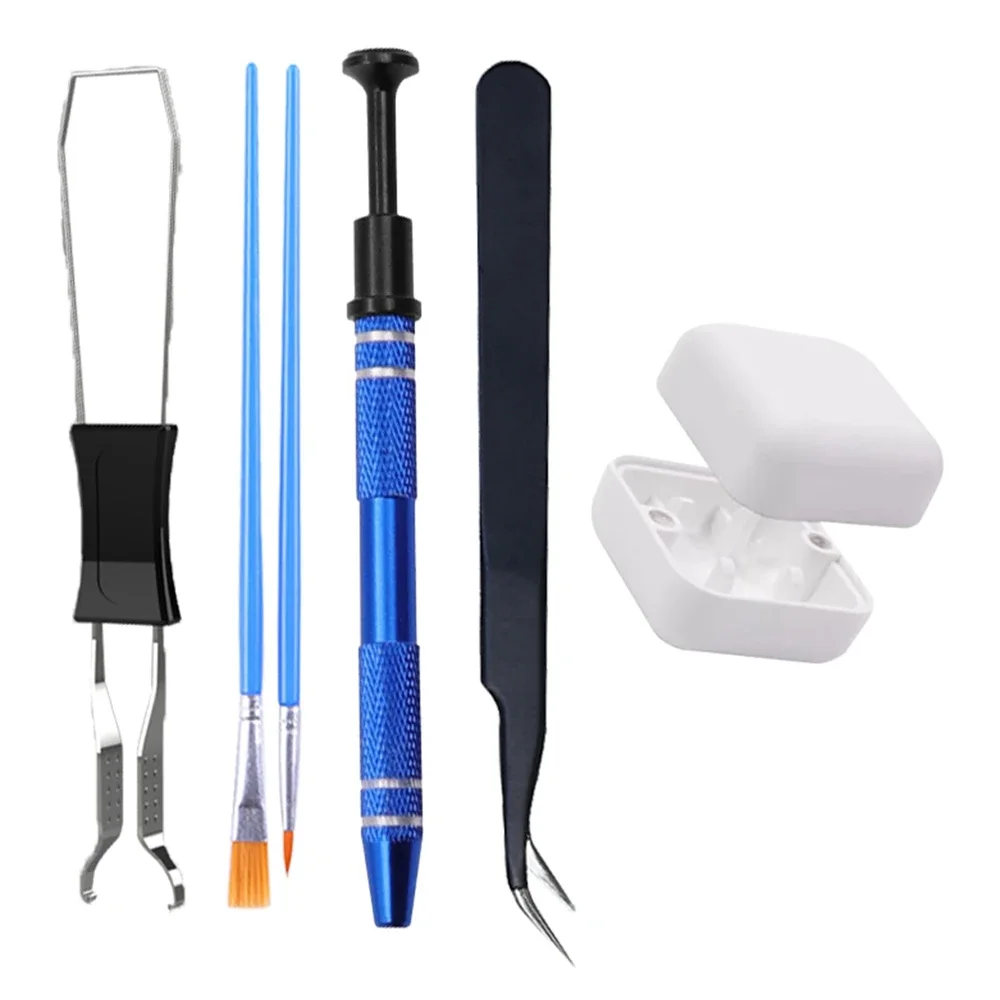
- Tools: A switch puller and a keycap puller. Some kits include them.
The order to do it in
- Plug the bare kit in and test it before anything goes on. Open a key tester in your browser and bridge the two metal contacts of each socket with tweezers. Every socket should register.
- Check the stabilisers. Press each one and let it go. It should move freely and not rattle. This is far easier to fix now than after the switches are in.
- Look at each switch before you fit it. The two metal pins must be straight. A bent pin is the most common reason a key does not work.
- Line the switch up with the socket and press straight down until it clicks into the plate. Do the corners first, then fill in the rows.
- Test again. If a key does not register, pull that switch, straighten its pins and refit it.
- Fit the keycaps, long keys first, pressing each one down evenly.
- If the board supports VIA or the maker's own software, remap anything you want moved.
Three pins or five
Switches have either three pins or five. The two extra ones are plastic legs that steady the switch. A PCB with five-pin sockets takes both kinds. If yours only has three-pin sockets, the plastic legs can be clipped off with flush cutters and the switch works the same.
If something goes wrong
Almost every first-build problem is a bent pin or a switch that is not fully seated. Pull it, look at it, try again. A hot-swap board is hard to damage as long as you press switches in straight and never force one.